
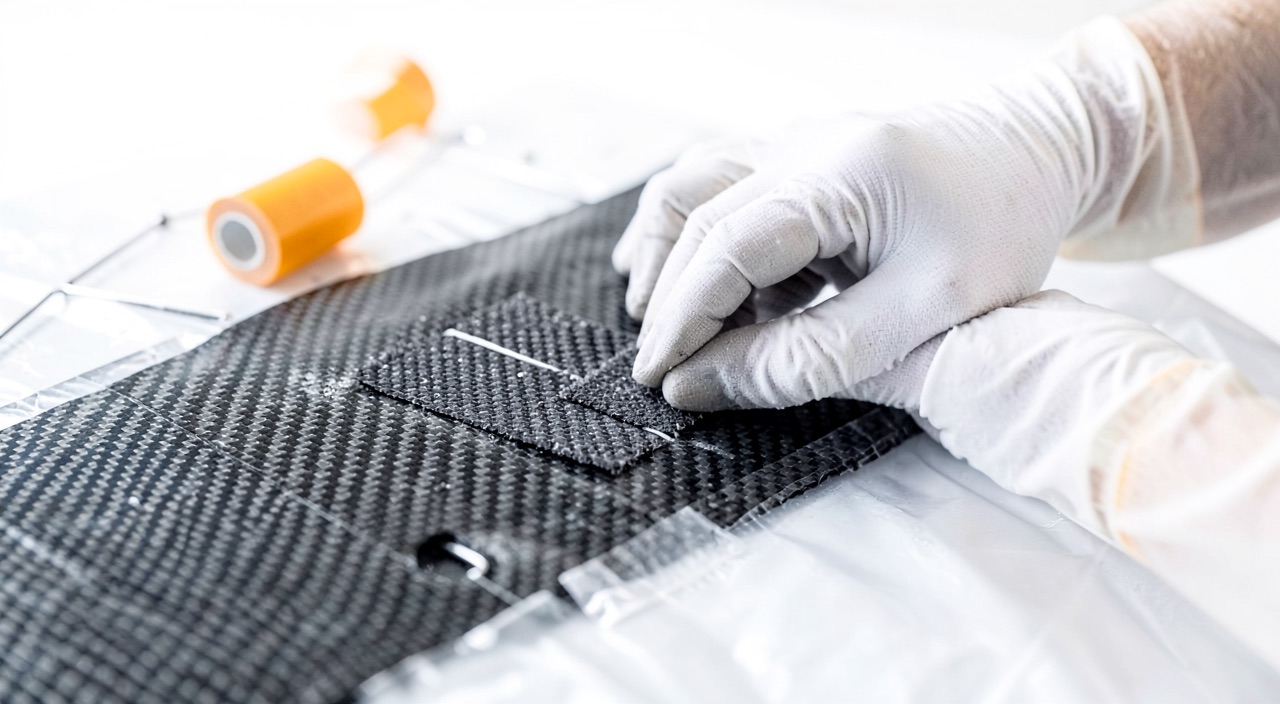
A bevel repair on a self-hardening panel, a complete curing report, an ultrasonic inspection without suspicious echoes — and, hundreds of cycles later, a clean detachment, exactly at the bonding plane. This scenario haunts composite workshops for a simple reason: no non-destructive testing measures the strength of a bond. A void can be seen, but not the absence of adhesion. The strength of a bonded assembly is not inspected afterward; it is built during surface preparation and performed during the curing cycle. The entire regulatory framework for bonding derives from this impossibility.
Bonding transfers shear stress — and escapes control
A bonded joint works in reverse of a bolted assembly. Where the fastening concentrates stress in a few drilled sections, the bevel distributes it over a large adhesive surface subjected to shear. The gentler the slope, the longer the bonded surface and the lower the average stress — at the cost of an increasing overlap, each additional ply to be joined extending the area to be stripped. The distribution is not uniform: the ends bear shear and peel peaks, hence the attention to the edges of the added piece and the coverage plies.
The difficulty is that this mechanics is based on a chemical bond that no one knows how to measure in situ. Ultrasonics, thermography, or tomography detect geometries: a void, porosity, delamination. A contaminated bond whose surfaces remain in intimate contact — the « kissing bond » kissing bond — transmits the wave almost normally and passes the inspection. Its actual strength may, however, be almost zero.
The trap: a bond without adhesion passes the inspection. Two surfaces in intimate contact transmit the ultrasonic wave almost normally, even though nothing bonds them. A clean inspection report after curing only says one thing: there is no void. It never says that the joint holds — it is the procedure file, not the inspection, that carries the demonstration.
You can’t see how strong a bond is with normal tests. The bond’s strength depends on how well the surfaces were prepared before bonding, not on what happens after. If the surfaces aren’t perfectly clean, the bond might fail even if tests show no obvious problems.
On an Airbus A350, a composite repair on the wing skin was done with proper surface preparation. The repair passed all non-destructive tests but failed after 500 flight cycles because of poor adhesion. The failure occurred exactly at the bonding plane, showing that the initial tests missed the weak bond.
The surface: a chemical window, not a state of cleanliness
Bonding is about wetting an adhesive on a high-energy surface, then creating bonds at the interface. But a laminate coming out of service is far from being reactive: residual mold release agents, hydraulic fluids, silicone-based cleaning products, fingerprints — a few nanometers of contamination are enough to collapse the surface energy. Degreasing alone changes nothing: a solvent displaces silicones more than it removes them. The sequence that works is always the same: clean first, to not spread contamination when sanding; then abrade, to expose new material; dust off by suction; bond quickly.
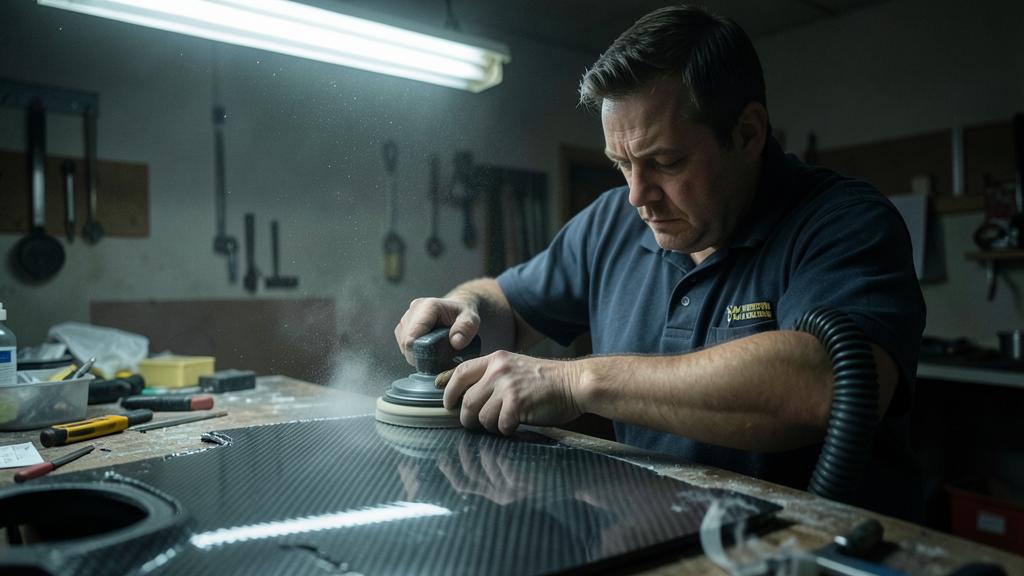
Bond quickly, because the created surface is perishable. A freshly abraded material adsorbs what passes by: humidity, workshop vapors, aerosols. The application specifications define a window between the end of preparation and the draping; beyond that, the abrasion is repeated, not just the cleaning. That’s why silicone-based products — spray lubricants, polishes — have no place in the same workshop as a bonded repair.
The verdict of the water test is immediate, but it does not prove adhesion — it reveals its opposite, and that’s already a lot.
The right reflex: treat the prepared surface as a perishable product. New gloves from the end of abrasion, suction instead of blowing, water test at the slightest doubt, draping within the window defined by the specification. Window exceeded, even if it looks clean: re-abrade. Ten minutes of sanding cost less than a « kissing bond » joint.
The tear fabric deserves special distrust: the torn ply reveals a surface never exposed to the workshop, but textured does not mean activated — some fabrics deposit their own agent that prohibits direct bonding. The applicable specification says whether a light abrasion should be followed; in case of doubt, it is followed.
| Method | Real mechanism | Associated trap | Useful control |
|---|---|---|---|
| Solvent degreasing only | Removes mobile dirt | Activates nothing and spreads silicones; before abrasion, never at the end | Appearance, then water test after abrasion |
| Tear fabric | Reveals a never-exposed surface | Textured is not activated; some fabrics leave a mold release agent | Fabric traceability, complementary abrasion if specified |
| Manual abrasion | Breaks the surface layer, creates a high-energy surface | Embedded grit that redistributes contamination; blown dust instead of suctioned | Water test, uniformity of the mat |
| Fine abrasive projection | Uniformity, even in the hollows | Too much energy exposes the fibers and gnaws at the first plies | Visual inspection, water test |
The laminate’s moisture works against curing
An organic matrix recovers ambient humidity throughout its service life: a small part of water by mass, but dispersed throughout the thickness. It does not bother as long as it remains dissolved. When brought to curing temperature, it vaporizes; the vapor seeks an exit, swells the bond line, and creates porosities and micro-delaminations. It can also blister the laminate around the heated area.
Hence the prior drying cycles, long because diffusion is slow: it is counted in hours, sometimes days, depending on the thickness and the part’s history. Drying leaves a trace in the file at the same level as curing — temperature, duration, and mass tracking when the specification requires it. Skipping this step is not seen in the draping; it is paid for in the plateau, when no one can intervene anymore.
The cycle: pilot the real part, not the setpoint
The bonding fixture regulates what its probes measure, not what the adhesive experiences. On a real structure, a reinforcement, a fitting, or a longeron under the repair area drains calories, and two thermocouples a few centimeters apart can record two different cures. The workshop rule derives from this: the plateau is counted on the coldest probe — it is the one that guarantees that the adhesive has seen its temperature long enough — while the hottest one monitors the limit not to exceed. Between the two, the ramp-up speed is not a detail: it governs the adhesive’s viscosity at the moment it must flow and wet the surface.
Under-curing is the most subtle defect because it is invisible: the part is hard, sounds full, passes ultrasonics. Only a conversion measurement — glass transition measured in a sample, for example — says whether the network has reached the expected state. A low glass transition announces a joint that will lose its rigidity with heat and age poorly in a humid atmosphere.
The heating method also conditions the final quality: under vacuum alone, the compaction pressure is limited to atmospheric, and the porosity of the bond line is structurally more likely than in an autoclave. It is a design parameter of the repair, not a workshop adjustment variable.
| Method | Thermal uniformity | Available pressure | Practical limit |
|---|---|---|---|
| Autoclave | Excellent, forced convection | Positive pressure, minimal porosity | Part deposited, chamber size, immobilization |
| Oven | Good | Vacuum bag only | Part deposited, more likely porosity |
| Heated blanket over fixture | Local, strong gradients near reinforcements | Vacuum bag only | Thermal wells: multiply the probes, pilot on the coldest one |
| Infrared lamps | Depends on geometry and emissivity | None | Delicate regulation, reserved for explicitly covered cases |
The witness sample sanctions the workshop, not the material
The witness sample is the pragmatic response to the impossibility of controlling strength: since the part cannot be broken, an object that has shared everything with it is broken. Same adhesive batch, same accumulated time out of the cold, same hands, same preparation, same vacuum bag, same cycle — the sample is cured next to the repair, then subjected to breakage, shear or peel according to the specification. If it breaks at the expected level and in the adhesive, it demonstrates that the procedure, that day, in that workshop, produced healthy bonds.
One must be clear about what it does not prove: it does not see the part’s actual surface, which has its own contamination history, nor a local thermal well that its own probes have not experienced. That’s why it first sanctions the workshop: a breakage at the interface, with a low value, calls into question the entire preparation chain, almost never the adhesive can. And a compliant sample does not absolve a part whose bonding window has been exceeded.
Traceability is part of the joint: batch numbers, freezer log, accumulated time at room temperature, workshop humidity during draping. An adhesive film that has lived too long out of the cold is cured like a new one — and breaks like a dead one.
Design as if the joint could fail
Certification requirements draw the logical consequence of all the above. For a critical structure bonding, the accepted compliance means are based on a known alternative: demonstrate the strength of each joint by inspection — which the state of the art does not know how to do —, test each part by a load test, or design in such a way that the structure retains its load capacity at limit loads even if the joint fails within the defined limits. It is this third option that governs the size of bonded repairs in primary structure: beyond a certain overlap, the residual structure would not withstand the limit load in case of detachment, and bonding is no longer acceptable without additional provisions.
Specifically, the structural repair manual limits bonded repairs in area, depth, and overlap; everything that exceeds goes to the design organization and its approved data. The practitioner must resist the reverse reading — « bonding is more elegant, therefore better »: a heavier bolted repair but demonstrable is sometimes preferable to a bonding that no one can guarantee.
What to go verify in your own documentation
Three verifications are worth doing in cold, before the next repair. The window, first: does your procedure specification set a maximum time between abrasion and draping, and does the file allow proving that it was respected? The probes, then: does the thermocouple placement rule explicitly cover thermal wells, and does the curing report archive all paths, not just an average? The sample, finally: do the acceptance criteria distinguish the appearance of the breakage — cohesive in the adhesive, or adhesive at the interface — or are they satisfied with a value? An interfacial appearance with a just-compliant value is a signal, not a success. There remains a gray area: advanced activation treatments, atmospheric plasma at the forefront, are leaving laboratories, and their framing in repair data remains uneven. Who prepares a qualification on composite structures has an interest in knowing where their documentation places these treatments.
These mechanisms illuminate the rule, they do not replace it: the applicable texts, the type certificate holder’s data, and the operator’s or maintenance organization’s approved documentation prevail in all circumstances over this article.


Leave a Reply
You must be logged in to post a comment.